
This has to be my most favorite pattern of all quilts! You can read the history here on the famous Grandmother's Flower Garden pattern if you're interested. I feel very confident that once i finish my current Denyse Schmidt "Hope Vally", i will quickly pick another favorite line and start on another variation of this paper piecing pattern! they are MORE than addicting!

Choose your petal & center fabrics

Pin on your hexies to the Wrong side of the fabric
( tip: hold your fabric & hexies up to a window to get a great fussy cut/ centered design! )

Cut around each hexagon about 1/4".
Basting Time!

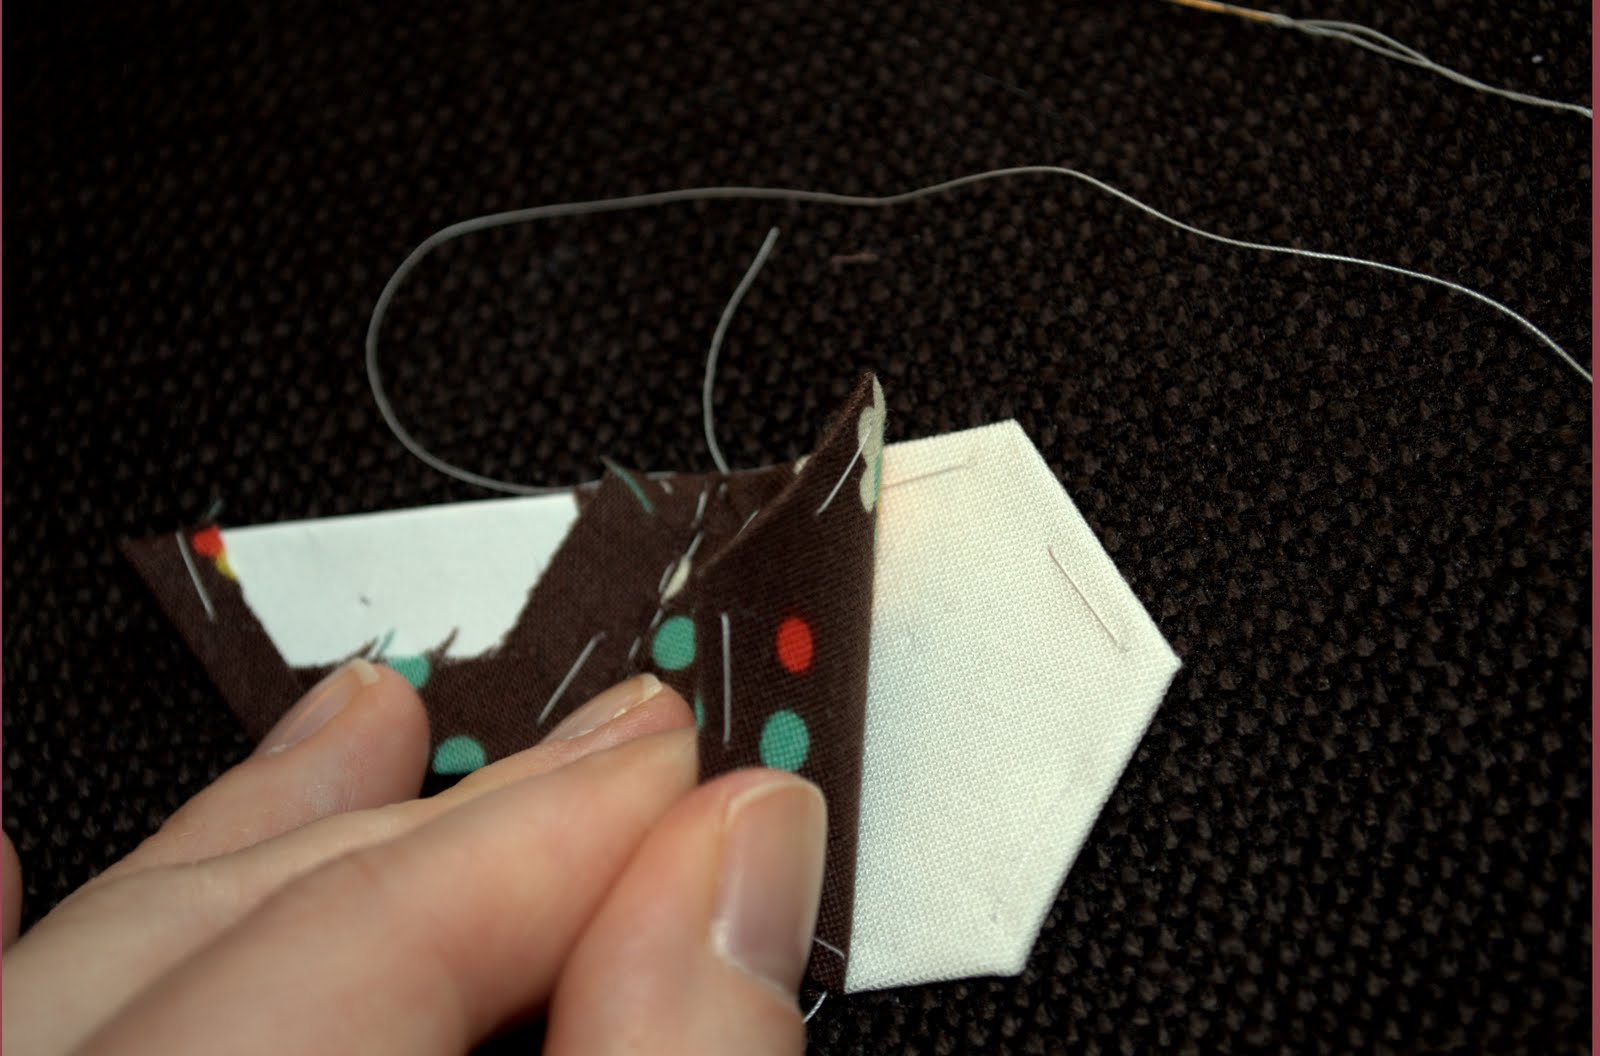
Take the first hexagon and finger press one edge of the fabric toward the pin.

Fold the connecting corner fabric over the first finger pressed edge.

Time for your needle & thread! Knot the thread at the end of the thread and insert the needle into the folded corner ( you will be going through the folded fabrics & paper template ).

Bring your thread through your hexagon again in the middle of the current folded edge.

Continue with this method until you reach the starting point.

Then knot the thread and snip!


One perfectly finished Hexie!

Now, make 5 more petals & one center hexagon for the entire flower!
Sewing Time!

Take one petal hexagon and the center, placing them Right sides together.

After securely knotting the end of your thread, insert your needle into the tiny fold-nook, corner of the hexagons.

Bring your needle back through from the other side of your stitch. It's important to backstitch the beginning and end of each hexagon to create a secure stitch that won't allow for seams to open later.

So, back through the initial stitch again!


Once you've backstitched your hexagons, continue with a ladder stitch through this side of the hexie.

 When you reach the end of the hexagon edge, backstitch again.
 Knot your thread and snip!
 One petal done!
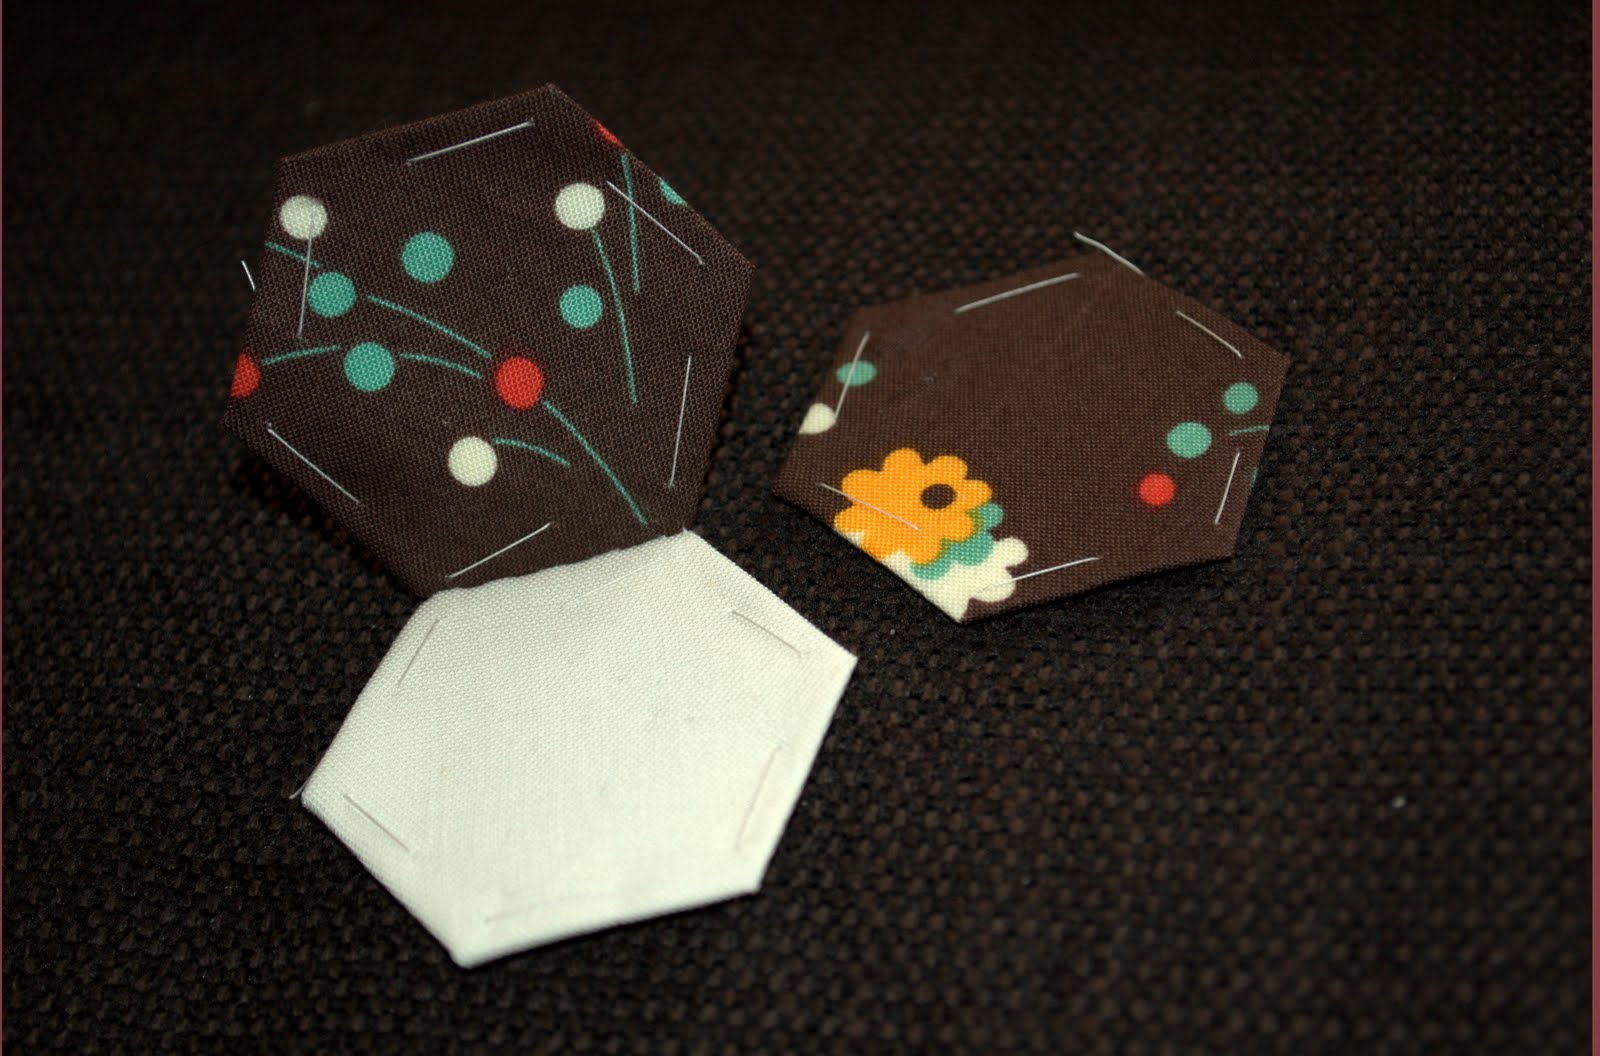 Time for the next, Grab another petal hexagon.
 Place the petal hexies Right sides together. ( tip: make sure you verify how the new petal placement will look before you stitch them together! )
 And repeating the same method as earlier, sew them together.
 When you get to the edge of the hexie this time, you must be cautious to backstitch well, to insure your petals have no holes in them.
However... DO NOT KNOT or CUT YOUR THREAD after backstitching.
 Flip your petal out.
Then by folding your original petal in half, the new petal and the center of the flower should line up perfectly, to continue with your stitching.

Starting in the fold-nook corner, backstitch again.

And continue your ladder stitch.

Securely knot and snip! getting the picture now... easy-peasy!

Two down and four more to go! Continue the same method through out the next petals!

Don't worry when you get to the last petal and there are 3 sides to stitch... it's just as simple!

Sew the first petal on just the same as the others and when you fold your petal in half (to sew the center edge) you'll make the center disappear.

Simply, fold the entire flower in half ( Right sides together )to reach your last hexagon edge to stitch.
Voila! a perfect little flower for your garden!!